Step 1: Navigate to In-Mail by clicking the chat bubble in the top right corner
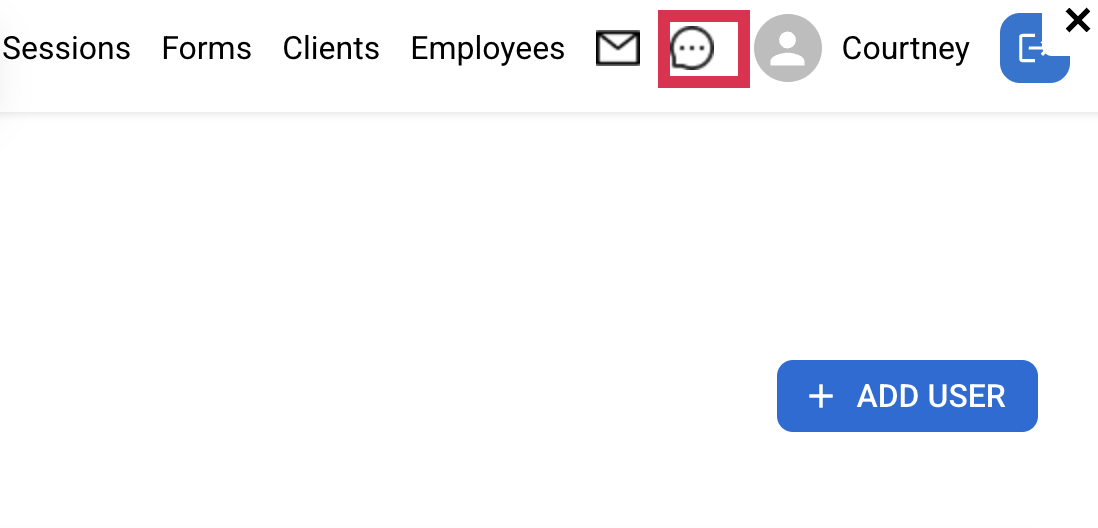
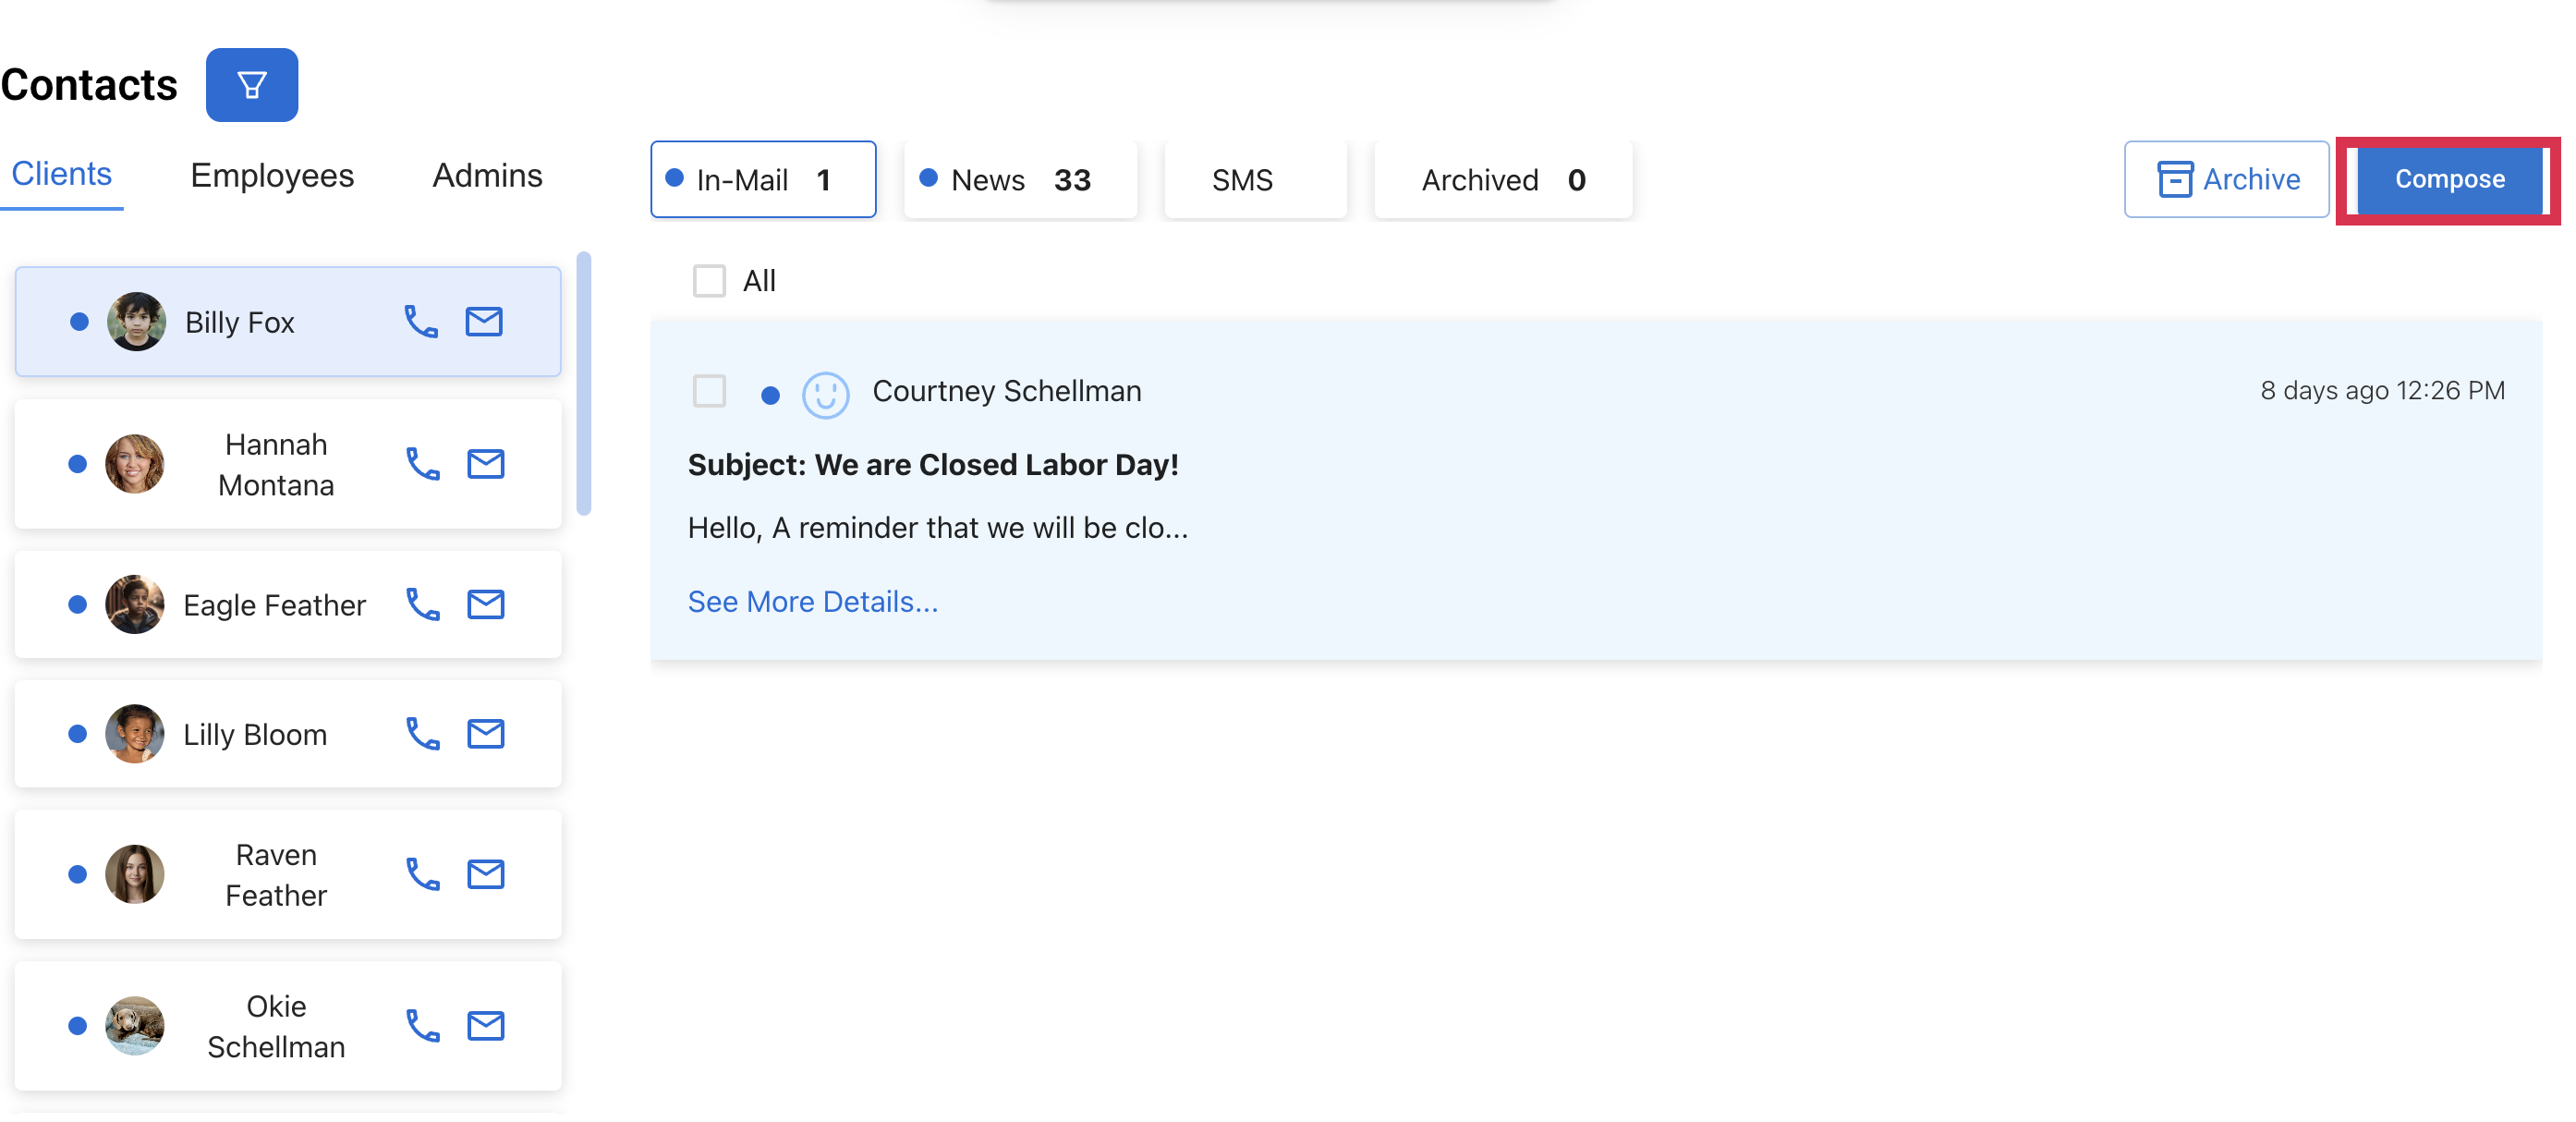
Step 2: Click "Compose" to send new messages
Step 3: Insert "Sender"
Sender can be an email, a name, or your company name.

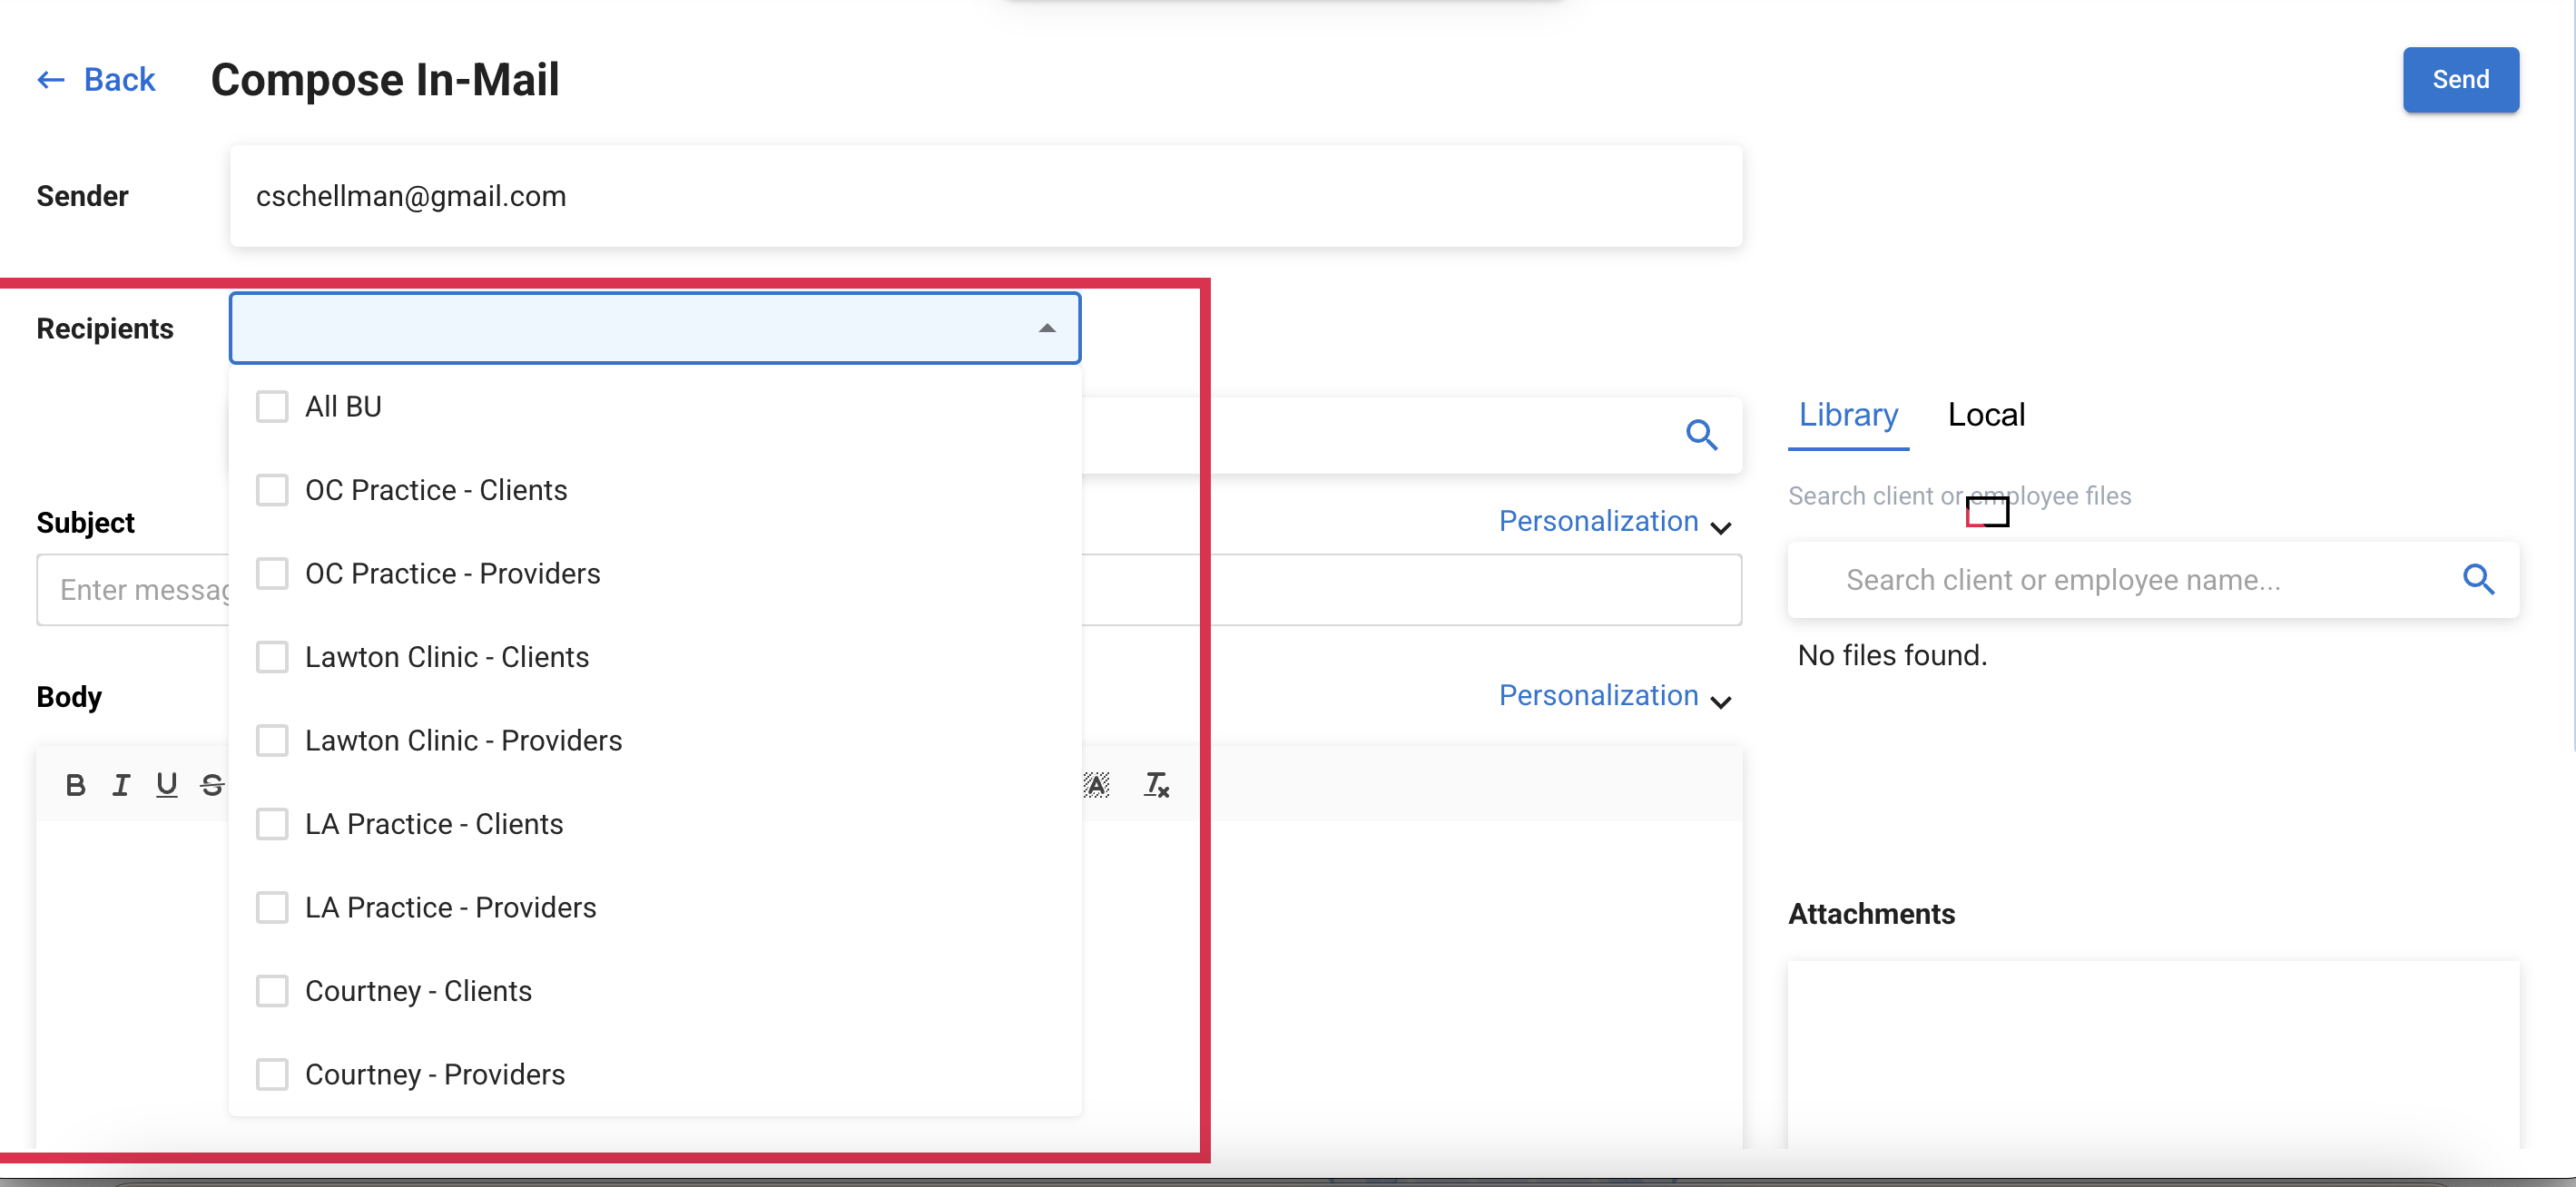
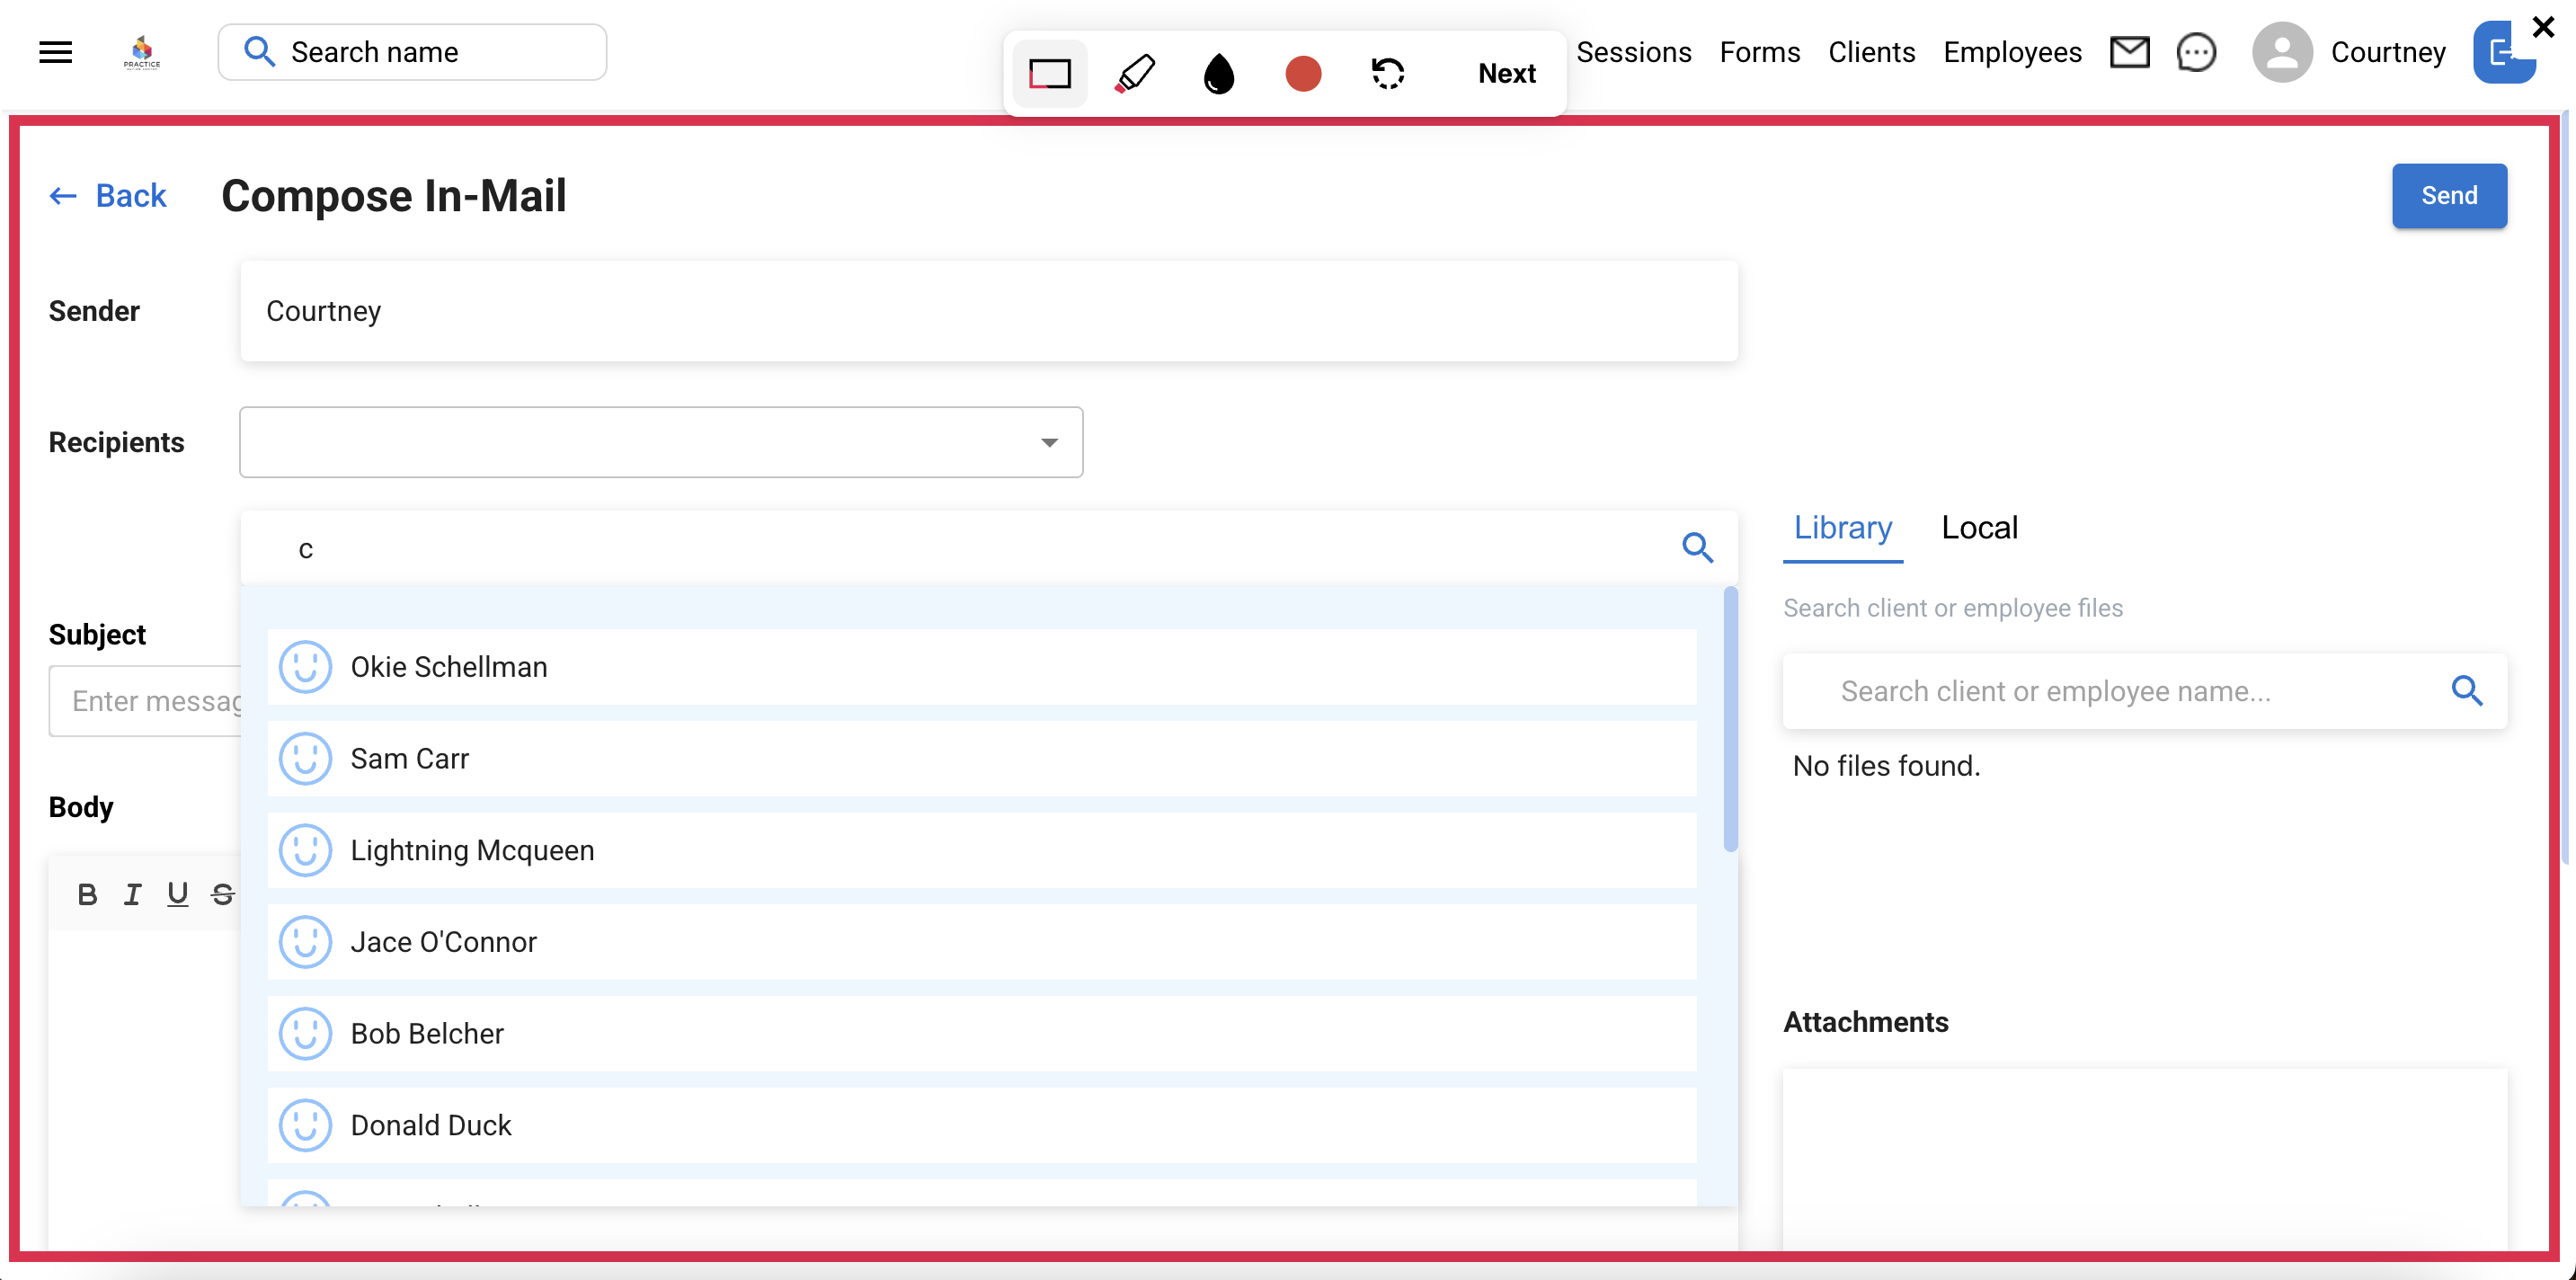
Step 4: Insert Recipients
You can select individual recipients by typing a name, selecting all BU, selecting specific Business Units providers and/or clients, or by selecting multiple recipients.
Step 5: Compose Message and Send
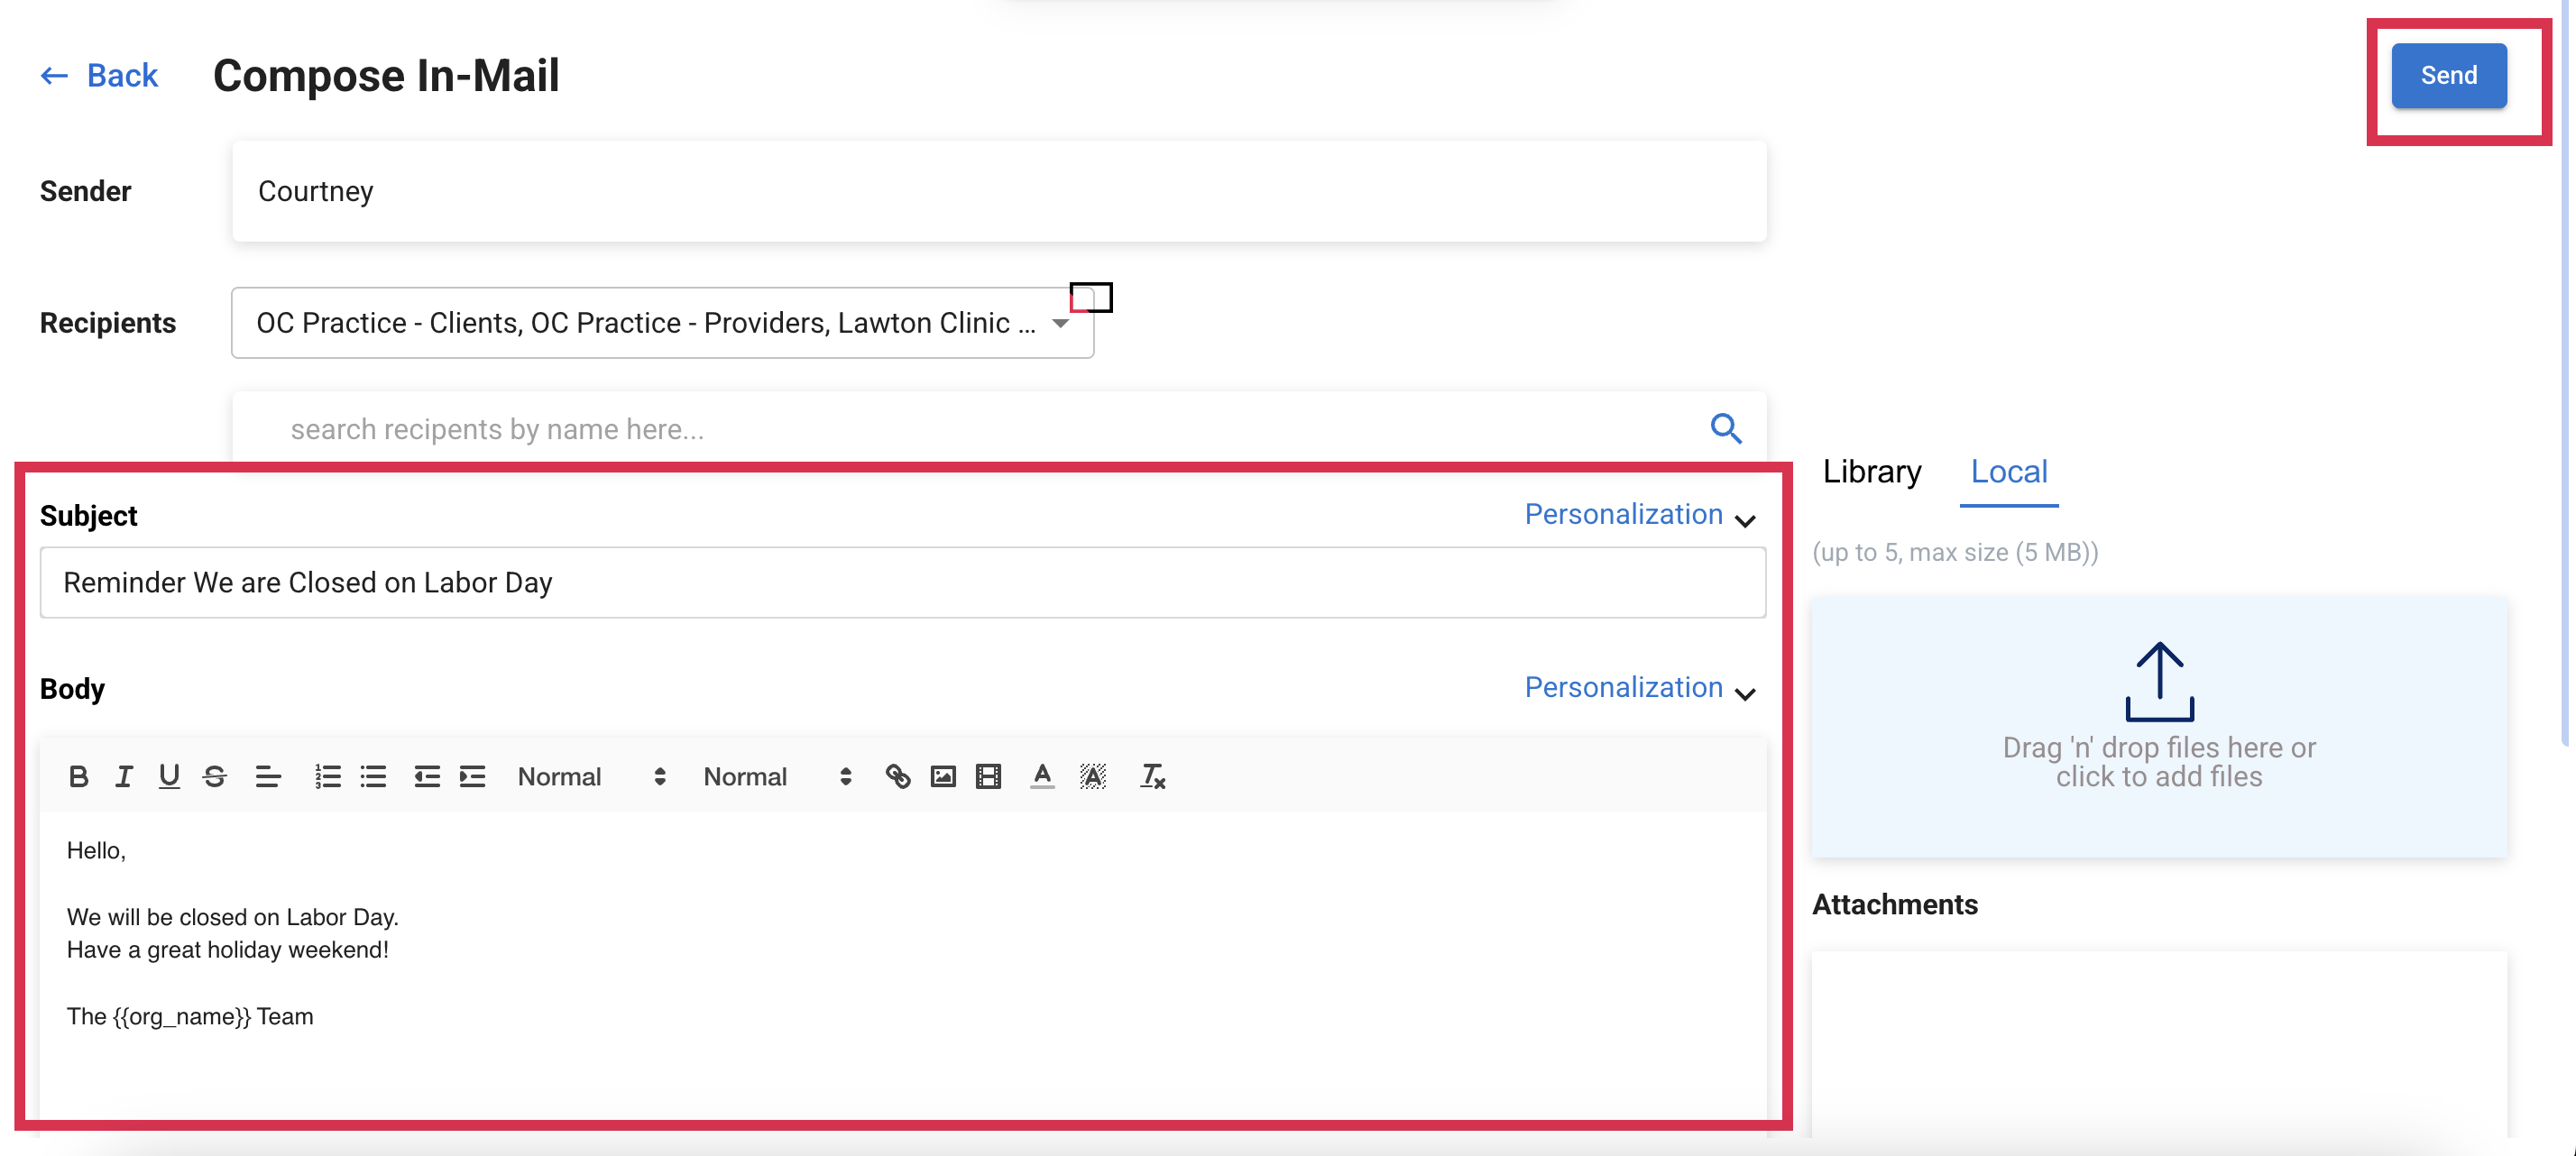
Important Notes:
- You can utilize personalizations to auto-populate information such as names, dates, and more!
- You can upload documents and send them directly through the In-Mail system. This is great for sending company newsletters
- Have more questions? Schedule with our Business Success Manager, Courtney to learn more at tidycal.com/cschellman
4. If you select all providers and clients, the system will email both intake clients and employees who are still in application status.To prevent messages from being sent to intake clients or potential employees, we recommend creating separate business units for “Intake” and “Applicants.” This will allow you to easily exclude these groups when sending mass messages to your team.