Step 1: Click on "Forms"

Step 2: All your forms that have been built out in your form builder will be long the top and you can scroll through them

Step 3: You'll notice they are color coded. The light green ones are client forms. The lavendar ones are employee forms.
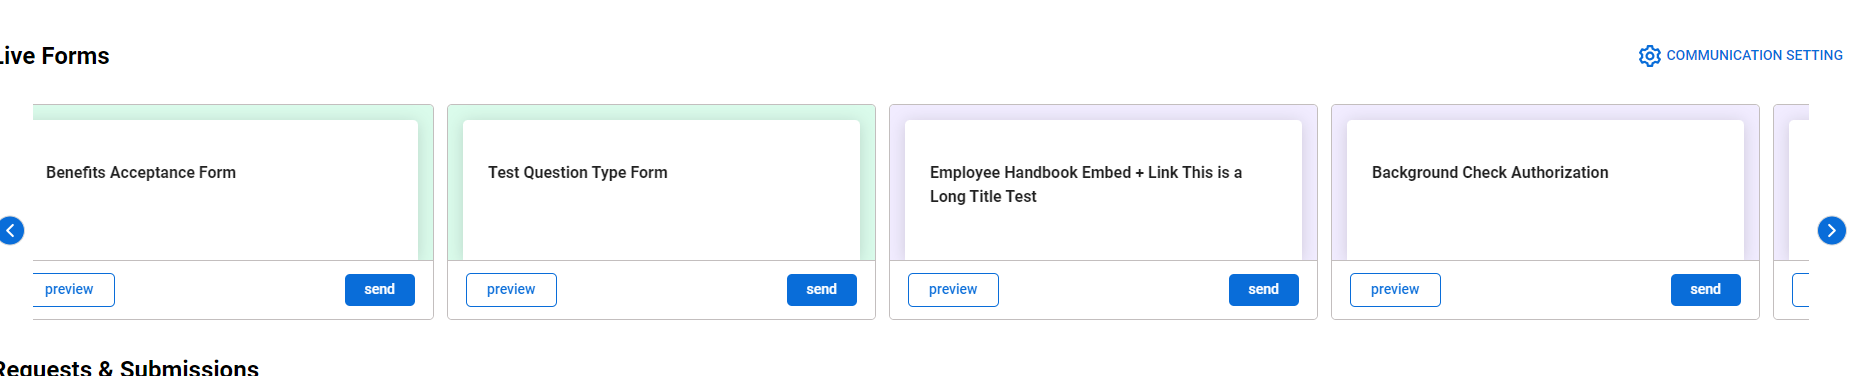
Step 4: You can select "Preview" to preview the form in the browser before you select it to send. To send it, select "Send"

Step 5: Search for the clients or employees you'd like to send the form to

Step 6: Click the "Add+" button to add them to the list of employees or clients you want the form to go to. You can select multiple recipients.

Step 7: Click "Send Form"

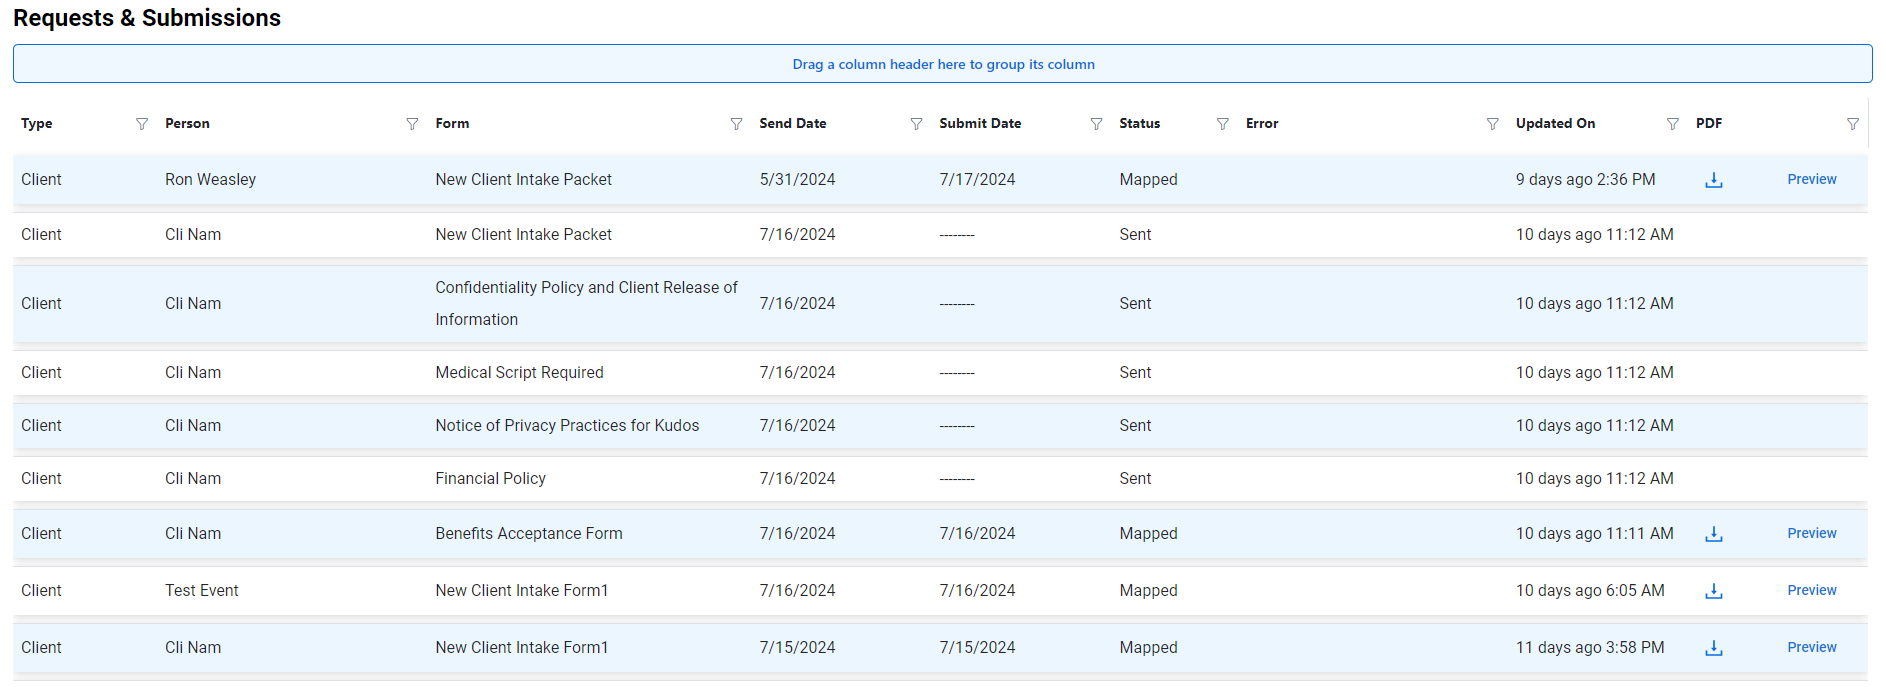
Step 8: Under Requests and Submissions, you'll see the info the forms you just sent. Notice Submit Date is blank. This will be filled in when the intended recipient completes the form.

Step 9: When the intended recipient completes the form, you will have a submit date, the status will show "Mapped", and you will be able to preview or download the file. You will also be able to access the file through the client or employee section of the app in their file section.